Installation & First Setup
Download, install, and configure Backup Manager & Network Operations Suite for the first time
Step 1: Download the Installer
After downloading BackupManager.exe from our website, locate the installer file in your Downloads folder or the location where you saved it.
Right-click on the installer file and select "Run as administrator" from the context menu. This ensures the installer has the necessary permissions to install Windows services.
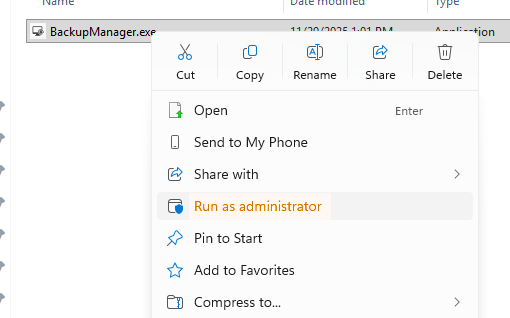
Right-click the installer and select "Run as administrator"
Step 2: Choose Installation Location
The setup wizard will ask where you want to install BackupManager. The default location is C:\Program Files\BackupManager.
Important: Please do not change this directory. The default location is recommended and tested for optimal functionality.
Make sure you have at least 134.9 MB of free disk space available.
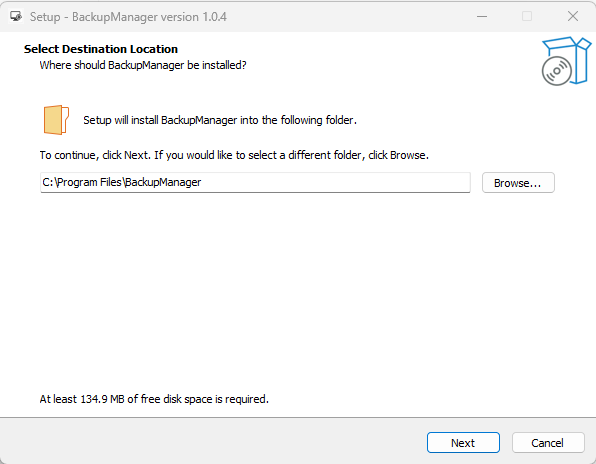
Default installation directory (do not change)
Step 3: Select Start Menu Folder
Choose where to place the program's shortcuts in your Start Menu. The default "BackupManager" folder is pre-selected and works well for most installations.
You can customize the folder name if you want to organize your programs differently, or check "Don't create a Start Menu folder" if you prefer not to have shortcuts there.
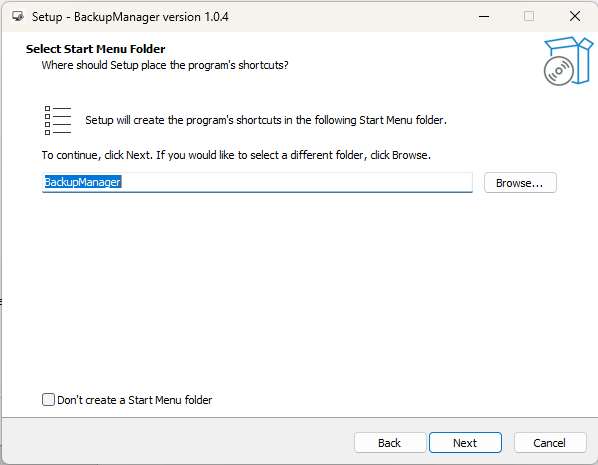
Choose the Start Menu folder location
Step 4: Select Additional Tasks
Do not change the default selections. This will install the required program services:
- Syslog Service - Receives and processes syslog messages from network devices
- Web Dashboard Service - Provides the web interface on HTTPS port 51455
- Backup Scheduler Service - Handles automated scheduled backups
All three services are required for proper operation. You can optionally create a desktop shortcut for quick access.
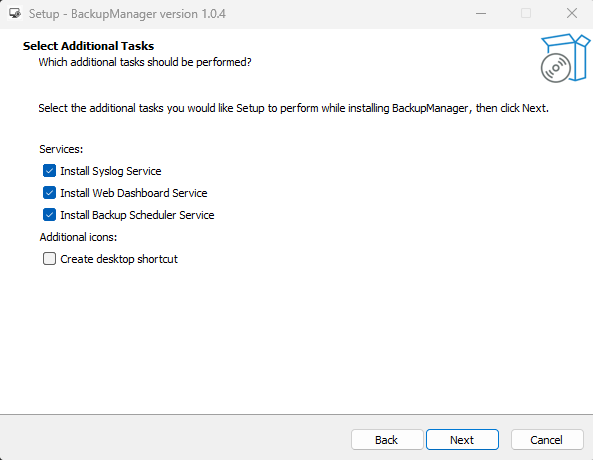
Do not change - all services are required
Step 5: Installation in Progress
The installer will now extract and install all files, including the embedded libraries for multi-vendor device support.
This process typically takes 2-3 minutes. The installer will automatically configure Windows services and firewall rules during this step.
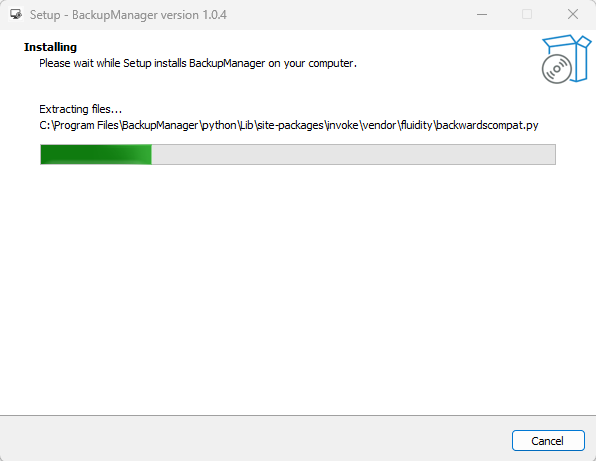
Wait while the installer extracts and configures all components
Step 6: Installation Complete
The installation has finished successfully! All Windows services have been installed and started automatically.
Make sure the "Open BackupManager" checkbox is selected, then click Finish. This will open the BackupManager web interface in your default browser.
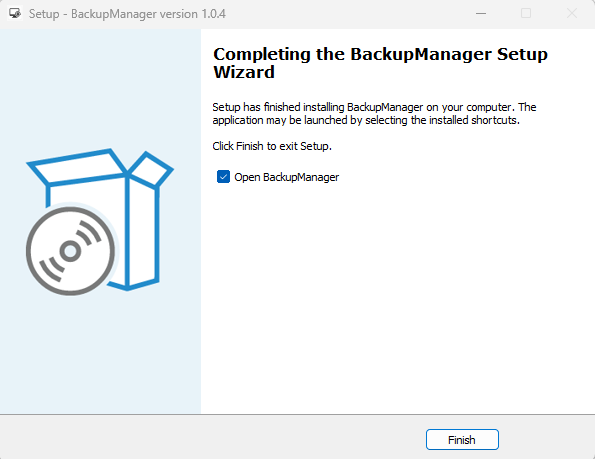
Installation complete - click Finish to launch the application
Step 7: First Login
Your browser will open to the BackupManager login page at https://localhost:51455/login. You may see a security warning about the self-signed SSL certificate - this is normal for local installations.
Use the default credentials to log in for the first time:
Username: admin
Password: NetworkBackup2024!
Change your password immediately after your first login!
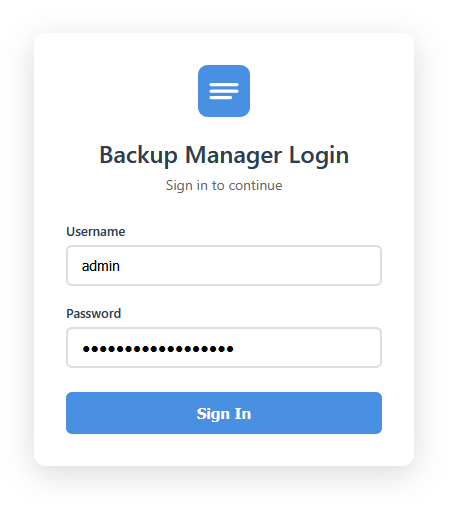
Login with the default admin credentials
Step 8: Main Dashboard
Welcome to the BackupManager dashboard! This is your central hub for monitoring and managing all network device backups and configurations.
From here you can:
- Add network devices and configure credentials
- Perform manual or scheduled backups
- Monitor syslog messages and security events
- View backup history and configuration changes
- Execute commands on multiple devices
- Generate reports and analytics
You're now ready to start adding devices and backing up your network infrastructure!
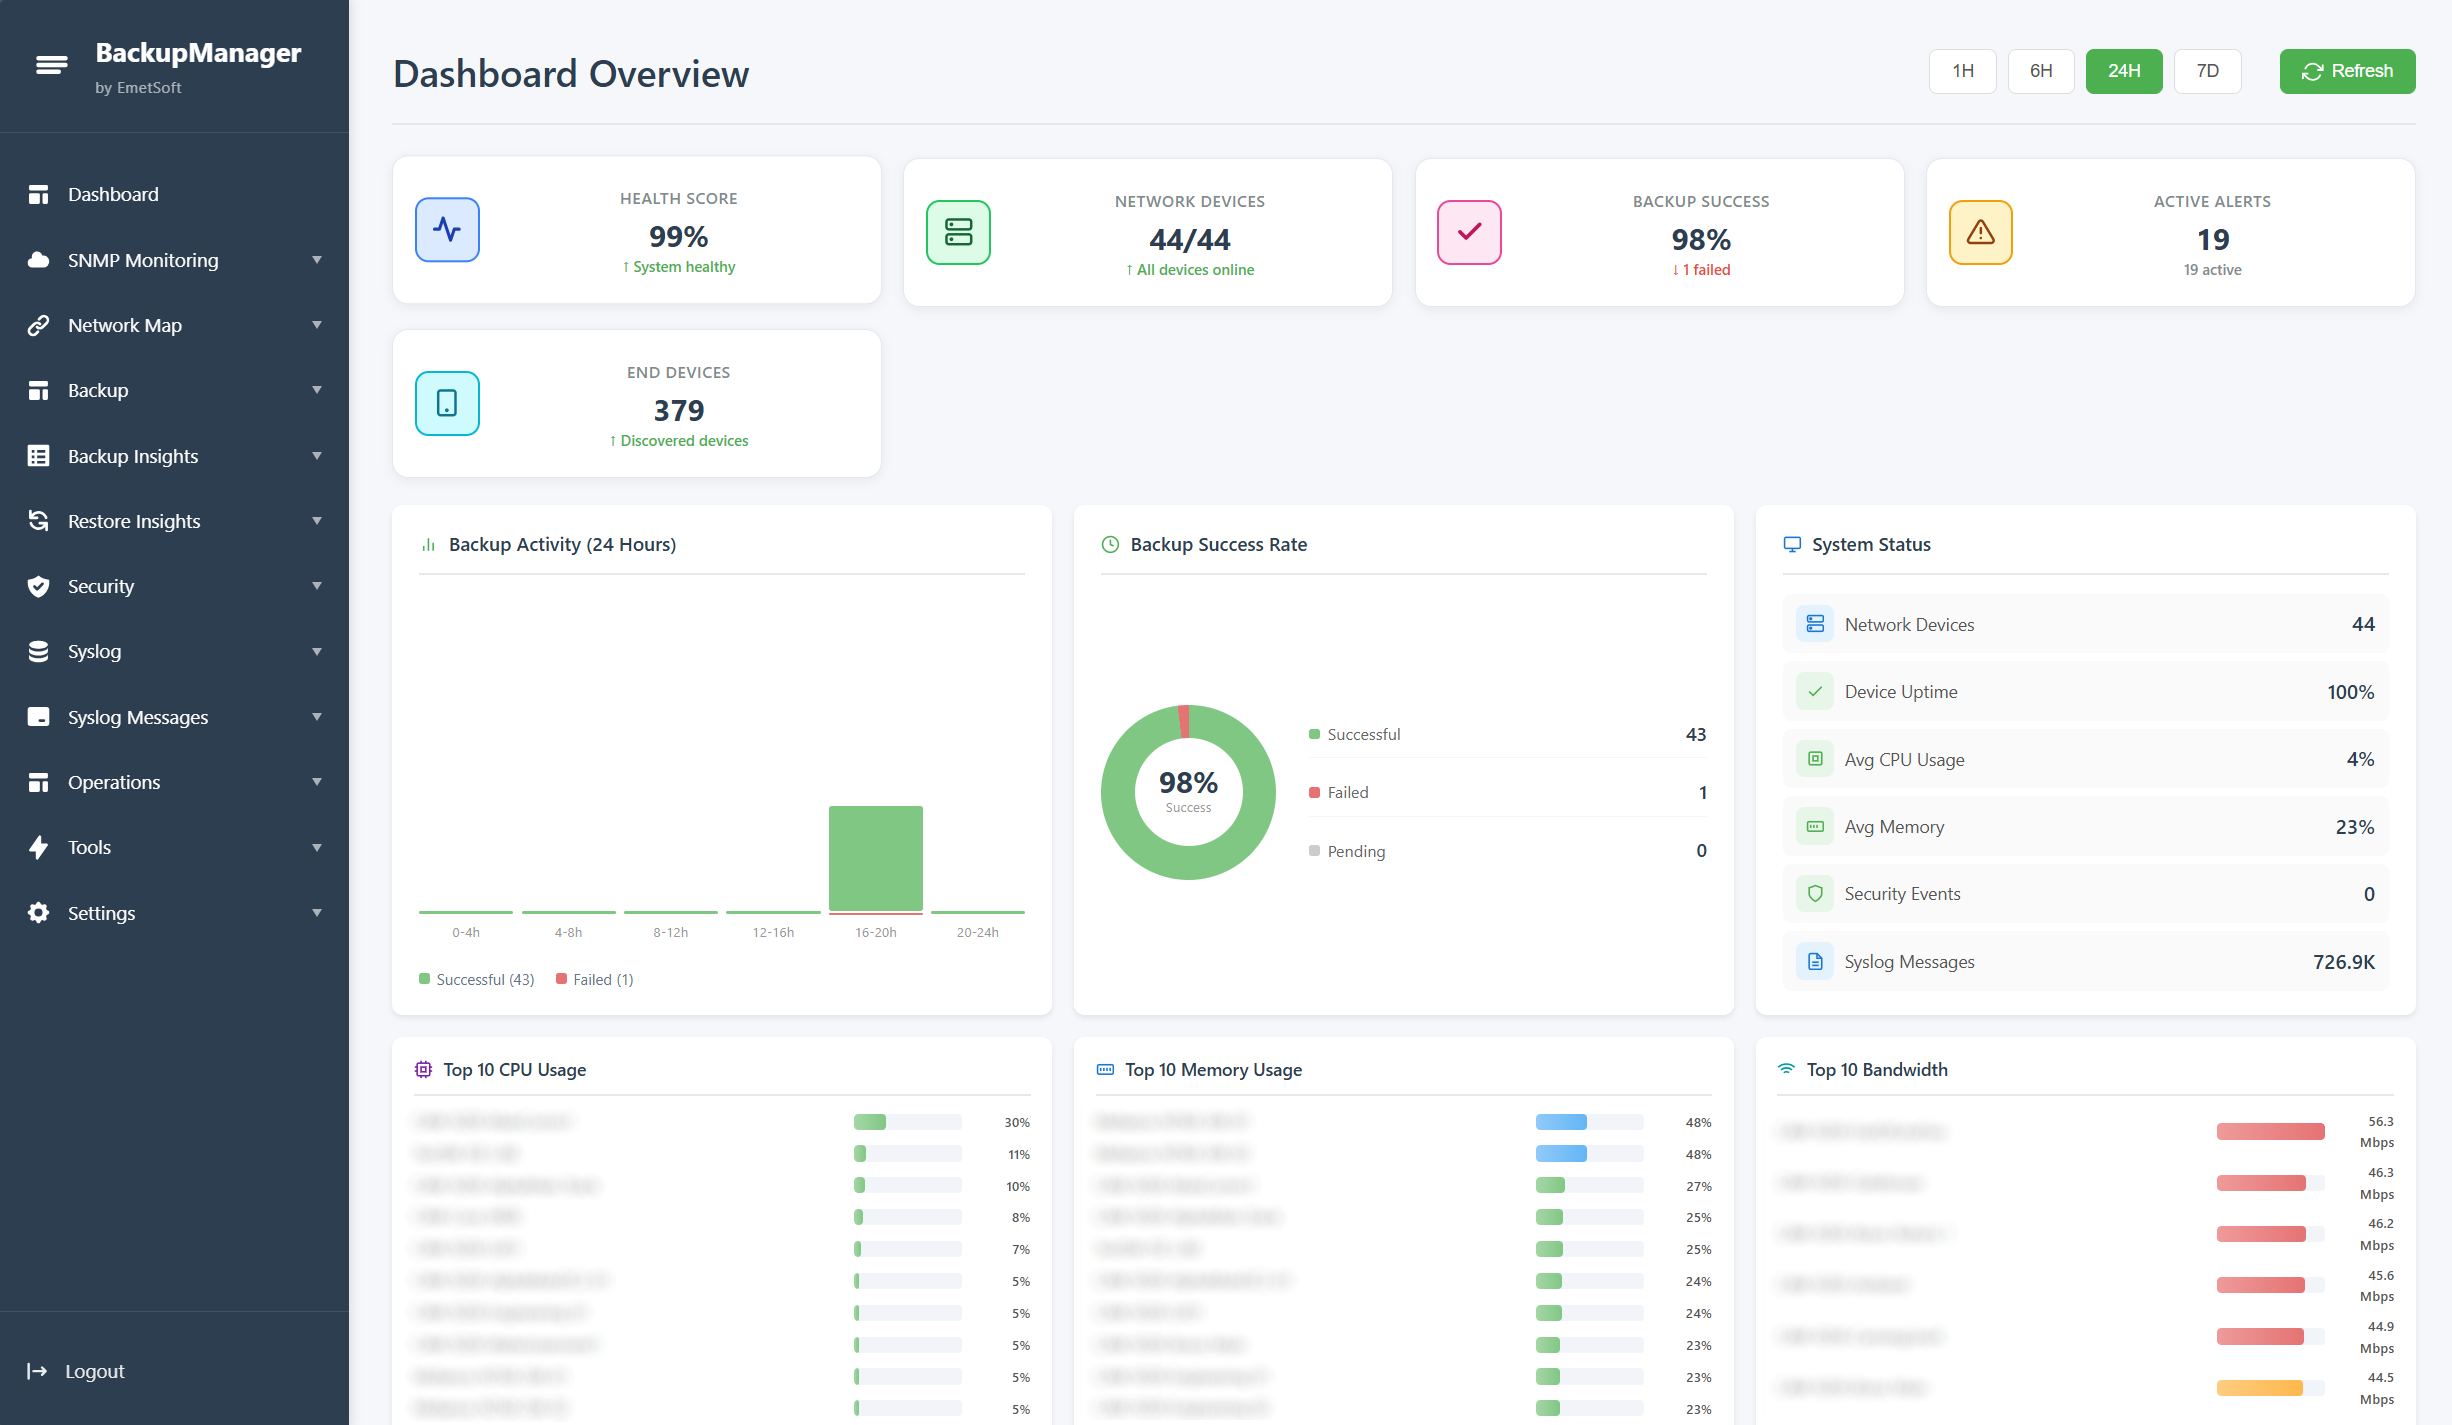
The main dashboard - your network management command center
Installation Complete!
You've successfully installed and activated Backup Manager & Network Operations Suite. You're now ready to start managing your network devices with automated backups, SNMP monitoring, real-time syslog monitoring, configuration tracking, and comprehensive security event analysis.